Creating a Lego Brick in Blender 2.6
This tutorial requires no former knowledge of Blender will teach you about:
#1 Basic user interface
#2 Edit Mode
#3 Simple Modifiers
#4 Creating objects
Notes:
CG talk is written in green.
Key presses are written in yellow
OK, to begin, Blender is a open-source 3D package for games and movies that can be downloaded on http://Blender.orgweeblylink_new_window
Now open Blender
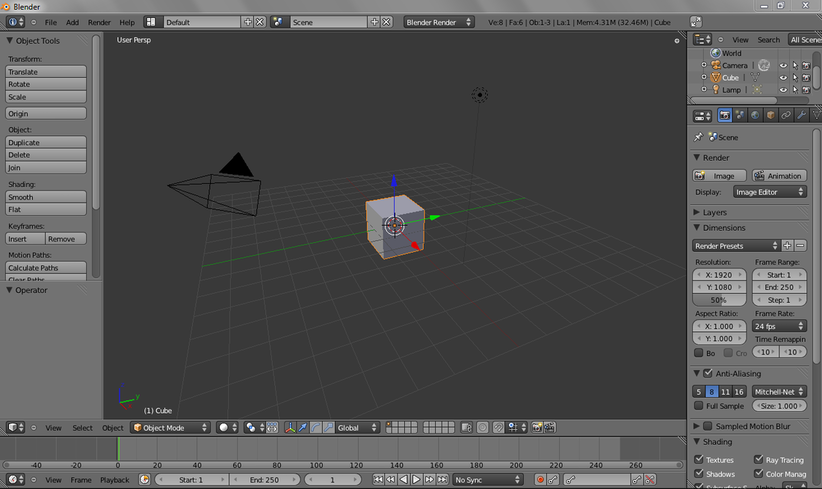
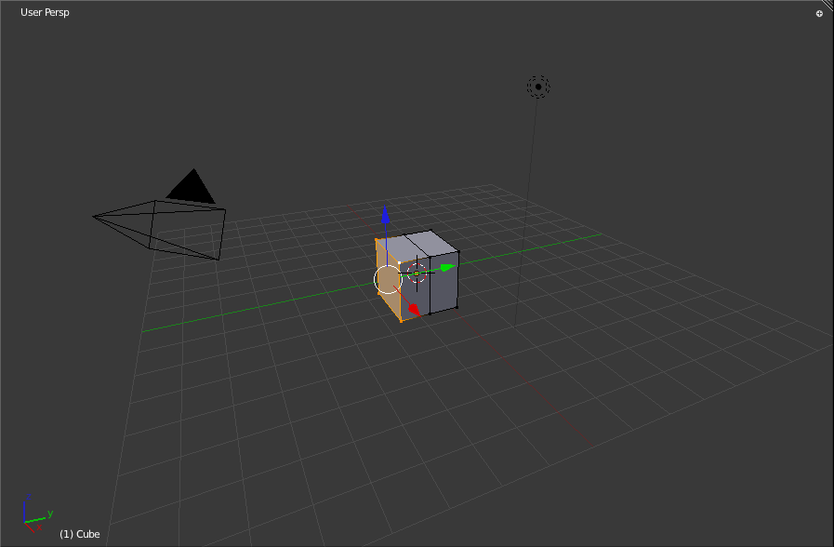
I know, it look a little scary at first, but don't be daunted, you wont have to use all of those buttons. First things first, this is the 3D viewport
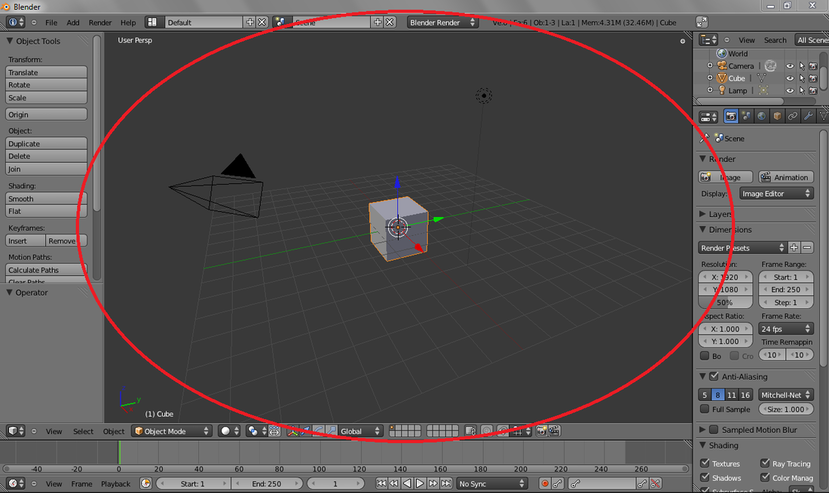
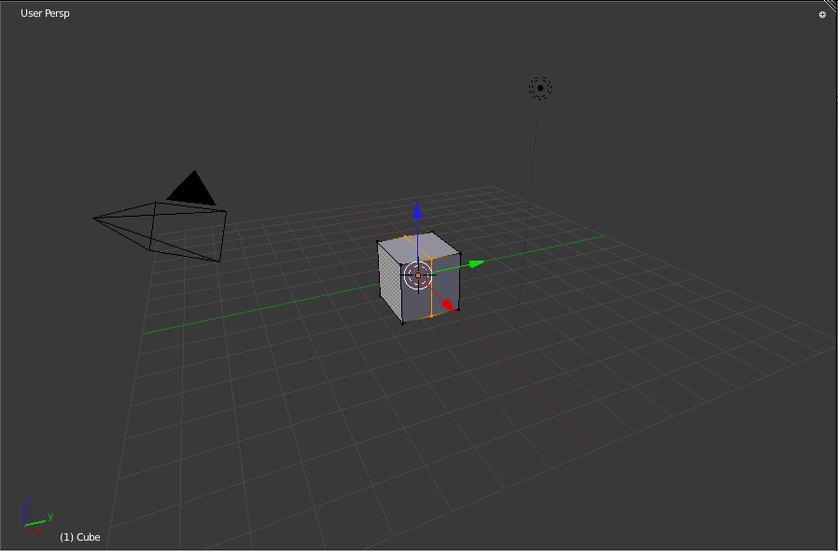
It is where you model and place your objects. Blender starts with a cube, camera, and lamp. To make a lego brick we first press tab into go into edit mode. This is where you model mesh.

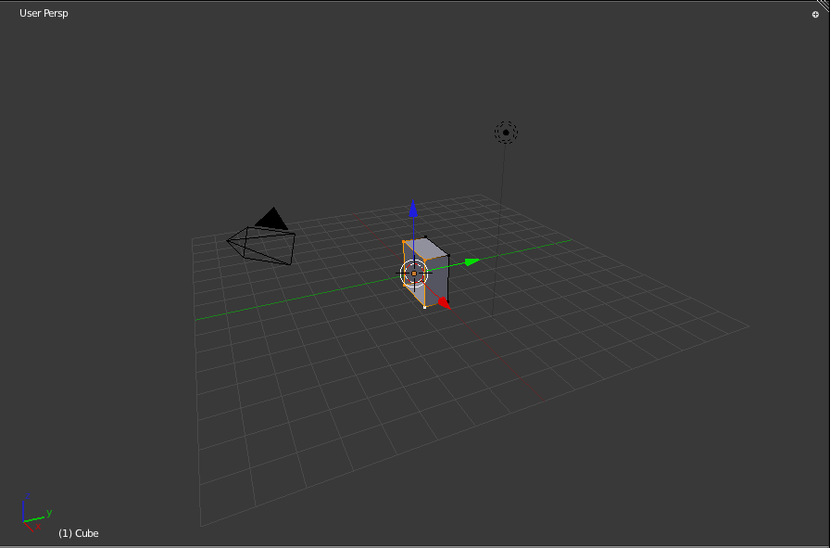
Oh joy, more complicated. To build the lego brick, press control+R to make a loop cut. Position your mouse so the purple line is cutting the cube in half. Then press
zero on the number pad, and finally, press Enter
zero on the number pad, and finally, press Enter
Now select the left side of the cube with shift+right mouse button.
Now press delete and on the drop down menu select vertices to cut the face off. Now select the vertices where the hole is and press F to fill the hole.
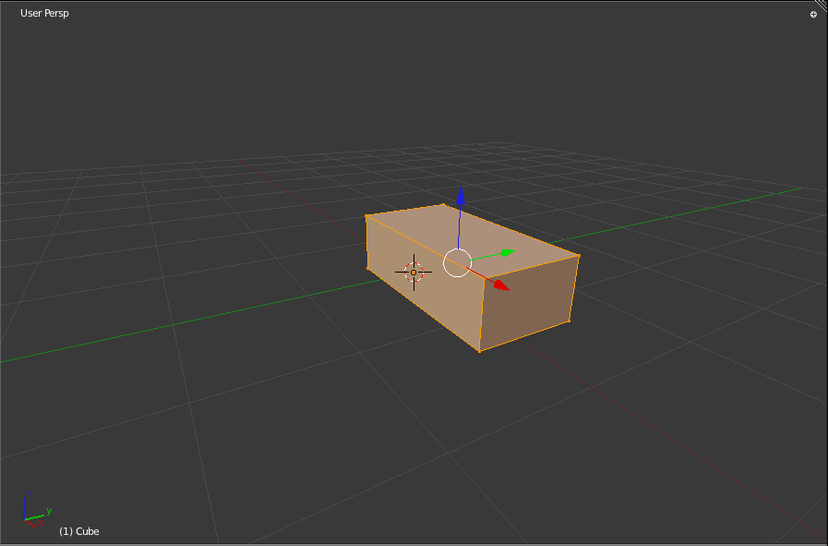
Press A twice to deselect then select everything. Now press S (scale) then Z to lock the scaling on the z axis and re-size it to something like this:
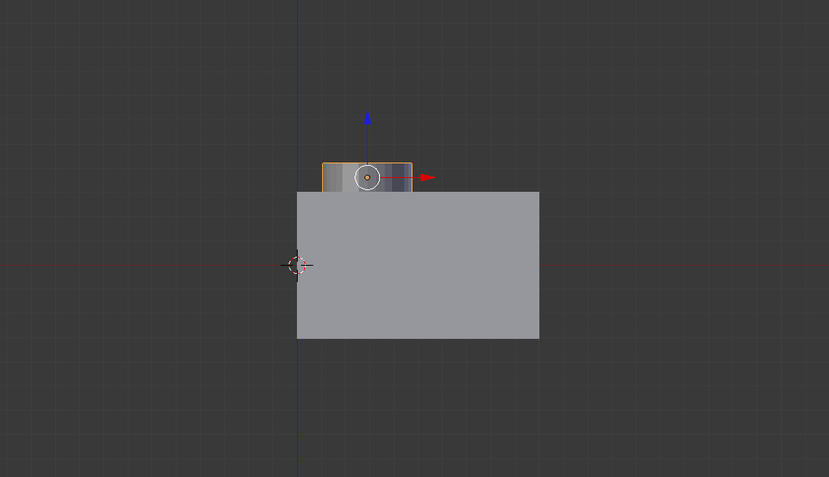
Now that the base is done, we can move onto the "nubs". To create them, press tab again to move to object mode. Press shift+A to bring up the add menu. Click Mesh>Cylinder to create a cylinder (obviously). Now press number-pad 1 to move to the front view. Scale using S and move using G to position and scale the cylinder until it matches the picture:
To copy these "nubs" over the entire brick, we will be using a modifier called "Array". Press on the modifier tab in the properties panel to open the modifier window.
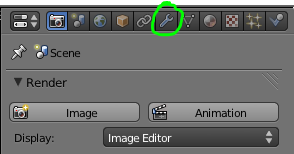
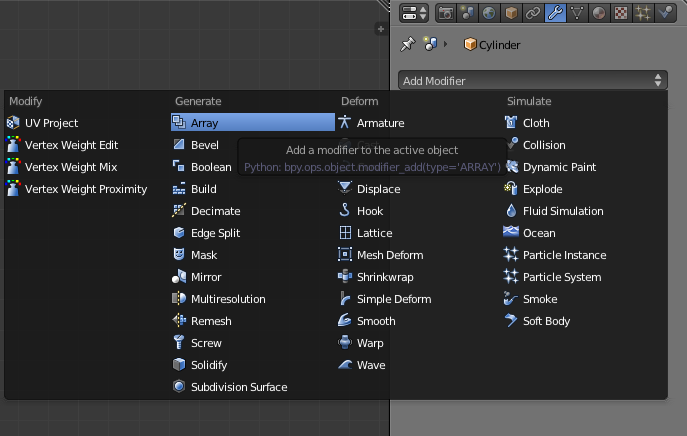
Within the modifier panel, select add modifier then array from the drop-down menu:
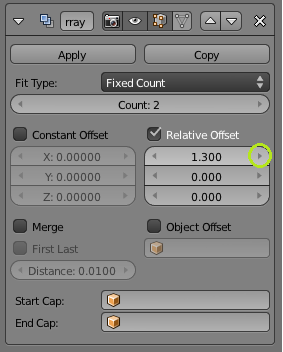
The array modifier "copies" the object in whatever direction or quantity desired. Press the arrow for relative offset until it is at 1.300 (as pictured below)
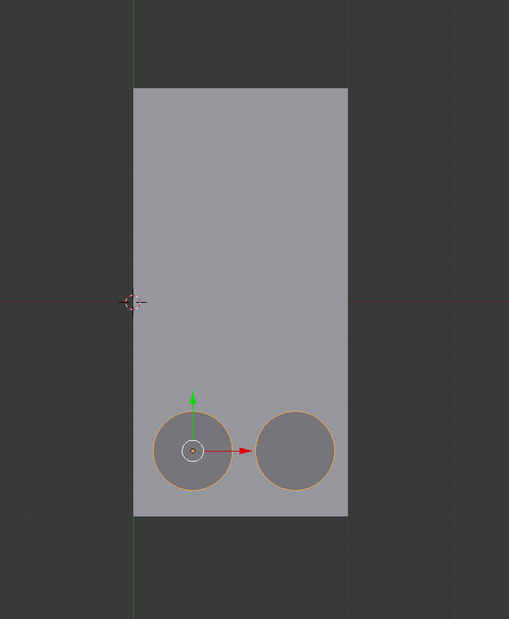
Now that that's done, Press Number Pad 7 to go into top view and position the nub object as so:
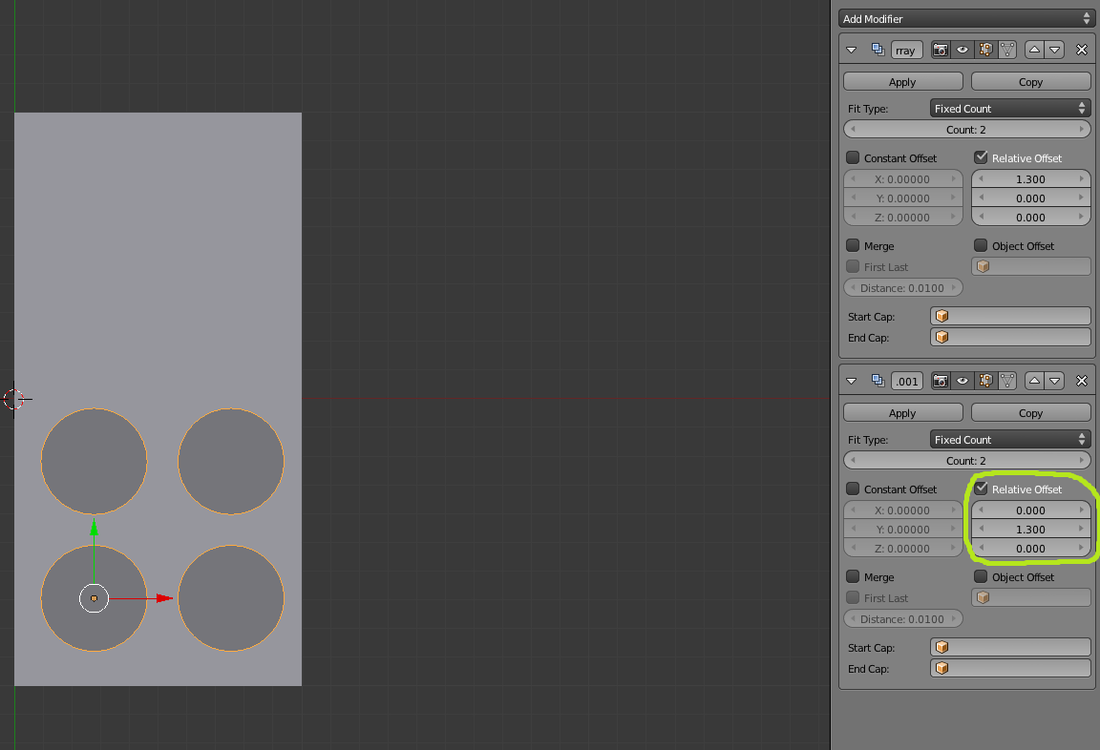
Back in the modifiers panel, add another array. This time, set the relative offset in the first box to 0, and in the second box enter 1.3:
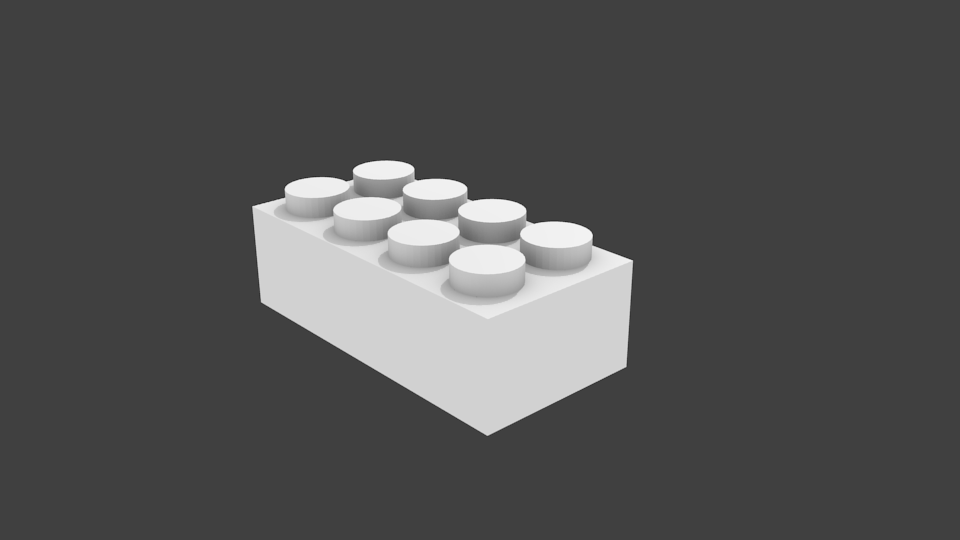
Bump the Count up to 4, and Viola! You have a finished lego block!
Finished Result:
Finished Result:

I hope you enjoyed my first tutorial! If you have comments, questions, or suggestions for my next tutorial, shoot me an email at [email protected]
Thanks for reading! -Kenny White
Thanks for reading! -Kenny White
